Surprise friends and family with a sweet and unique treat by making your own coconut mochi filled with red bean paste. They may look complex, but you’ll see they’re such an easy treat to make that will absolutely impress! {Vegetarian, Gluten-Free}
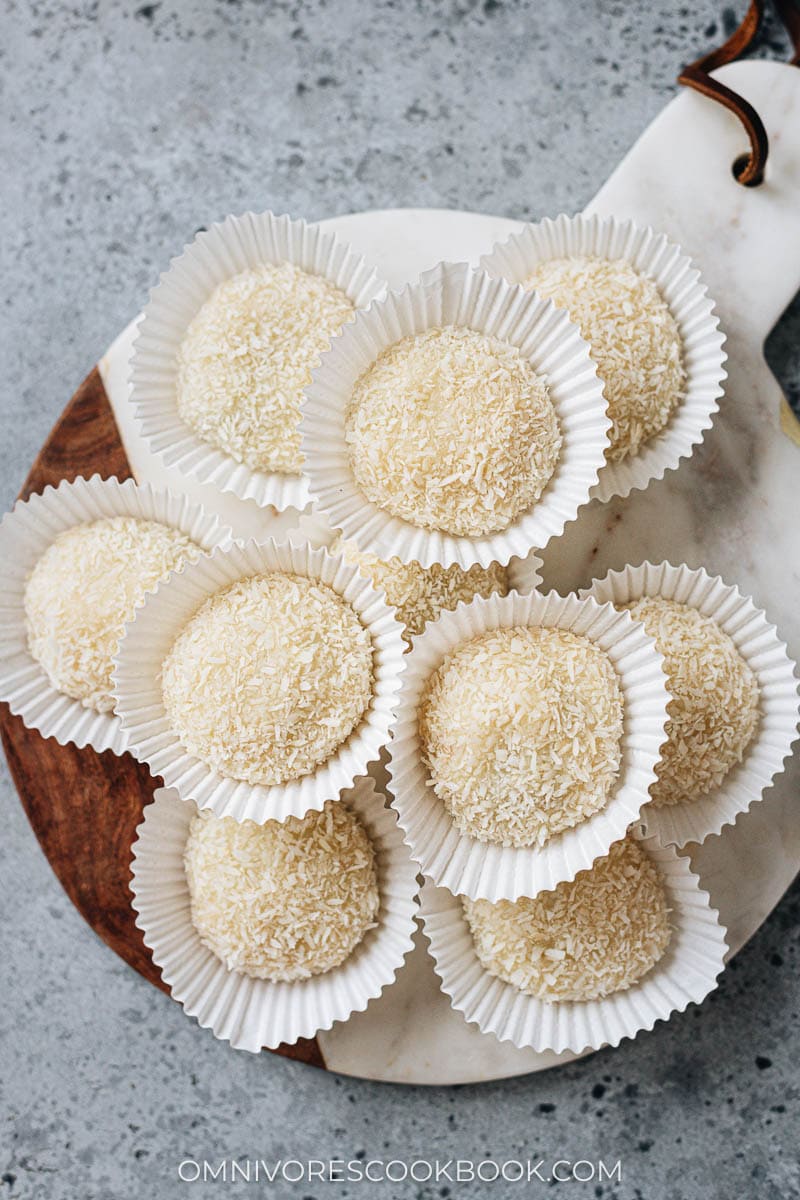
Coconut mochi, or lo mai chi (糯米滋) is a traditional dessert from Fujian province in the southern part of China. It is quite similar to Japanese mochi but is usually coated with a layer of shredded coconut. It also has a more tender texture than the chewy Japanese mochi. The filling for Chinese coconut mochi is typically sweet red bean paste, mango, or sweet nuts.
Coconut mochi is a popular dessert to serve after dinner. It’s also a great one to make for the Mid-Autumn Festival to replace mooncakesas a part of the celebration.
Today I want to share the version filled with red bean pastewhich is one of my favorite ways to enjoy coconut mochi.
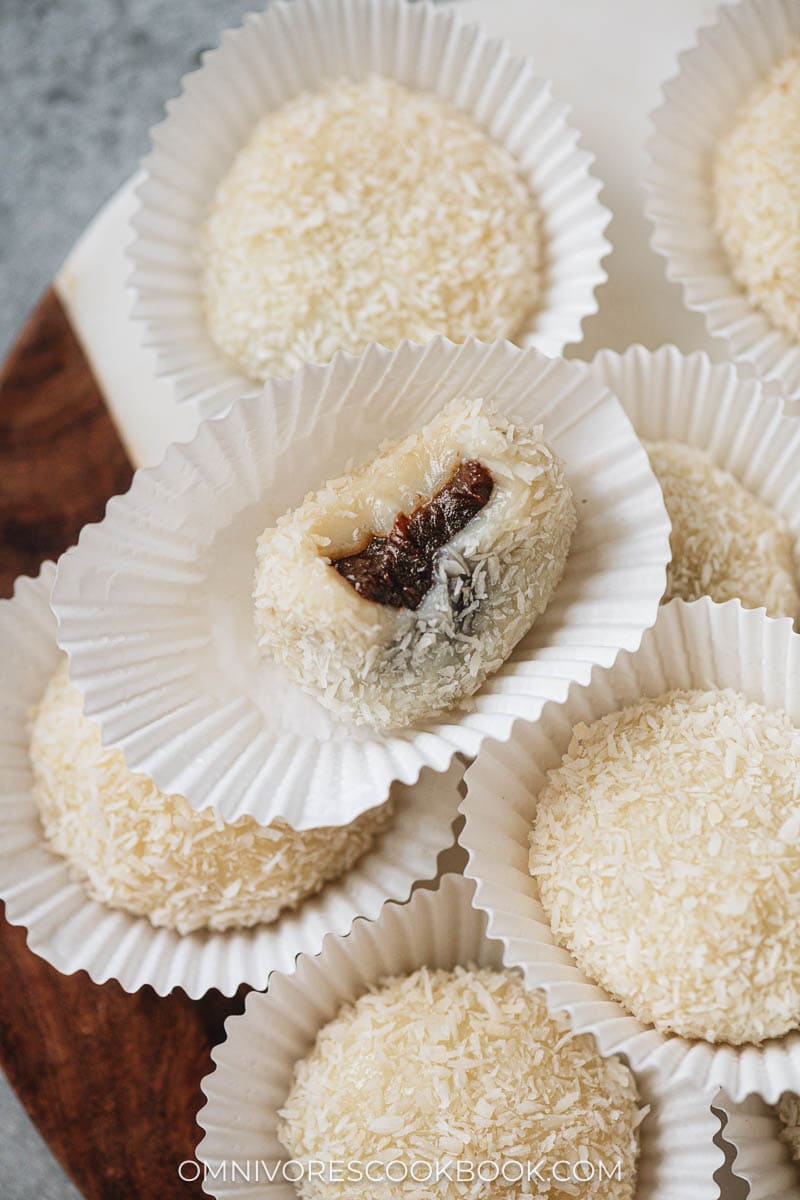
Coconut mochi ingredients
Glutinous rice flour
Throughout Asia, glutinous rice flour plays a huge role, and it is one of the key ingredients in coconut mochi. It is also called sweet rice flour, sticky rice flour, or nuo mi (糯米) in Chinese. Although its name contains the word glutinous, the flour is actually gluten-free. You can easily find it in most Asian grocery stores, or on Amazon.
Set up
Believe it or not, coconut mochi only requires seven simple ingredients. As mentioned, the glutinous rice flour is essential for this recipe. You’ll also need cornstarch, white sugar, coconut oil (or butter), red bean paste, shredded coconut, and coconut milk (or any plant milk).
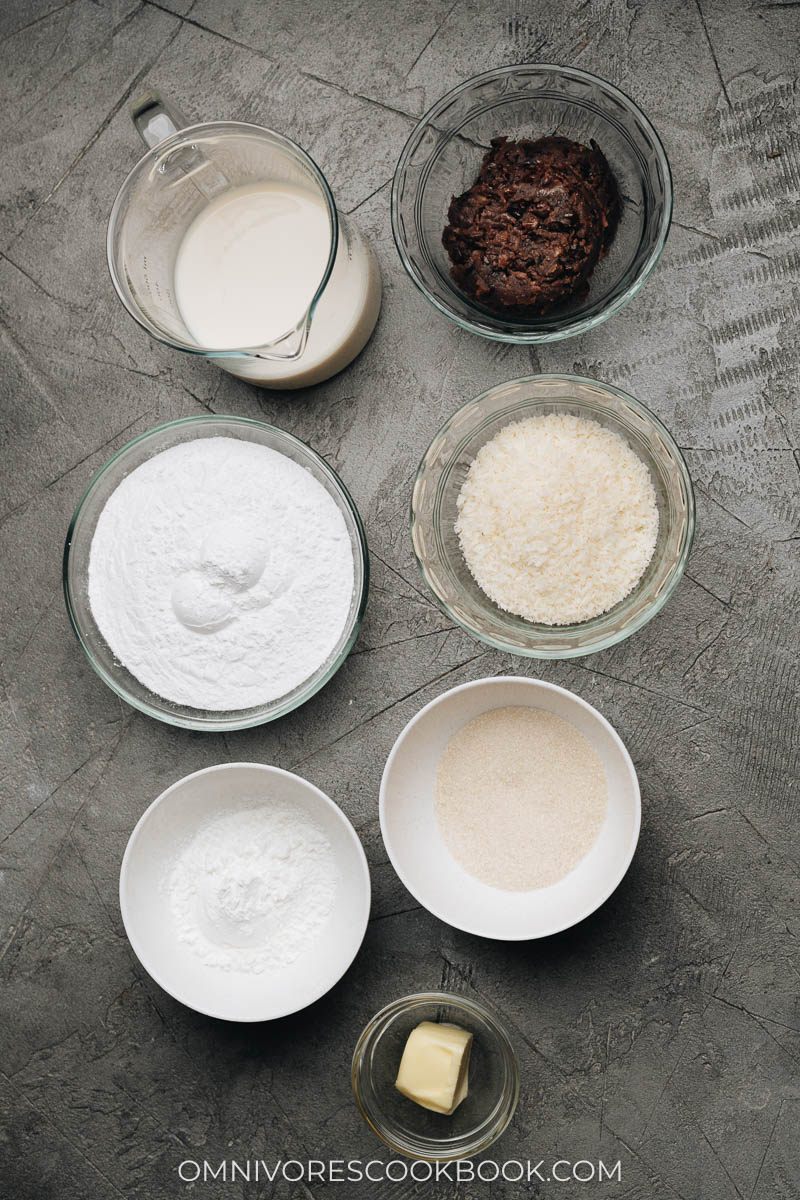
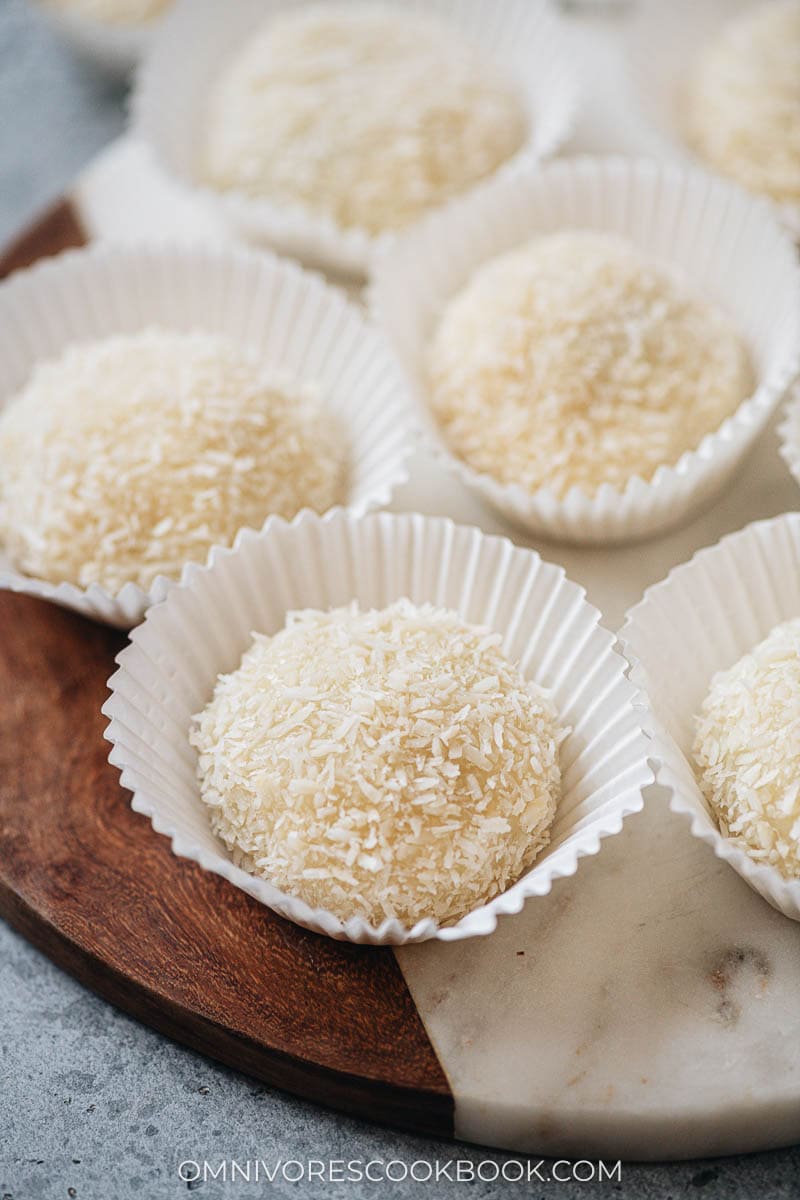
I love to use my homemade red bean paste. But you can use store bought red bean paste as well.
How to make coconut mochi
Making coconut mochi is super fun! It does take a minute, but as long as you have the tools, it’s really easy to make.
Prepare the dough and the filling
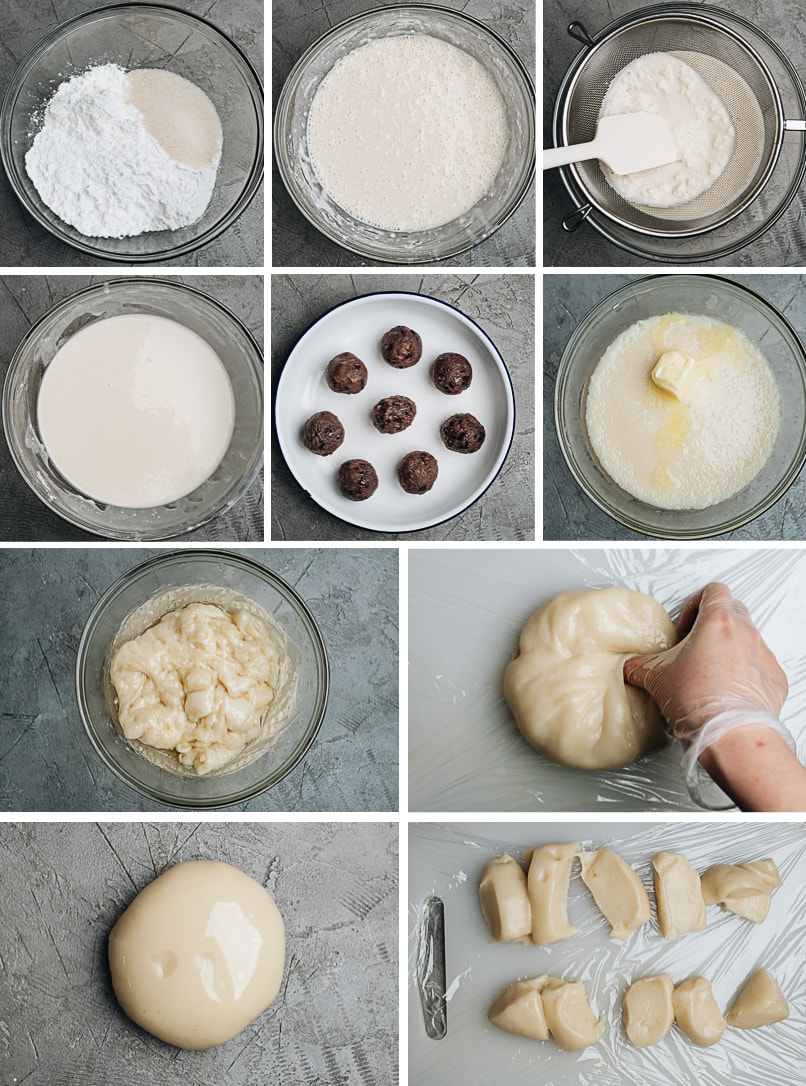
- Mix the dry ingredients (glutinous flour, cornstarch, and sugar)
- Add the coconut milk and mix well
- Run the batter through a colander to dissolve any clumps
- Steam the batter
- Meanwhile, shape the red bean filling into balls
- Once the batter is steamed, add the coconut oil (or butter)
- Mix in the oil (or butter)
- Briefly knead the dough
- Cool the dough in the fridge
- Cut the dough into small pieces
Assemble the coconut mochi
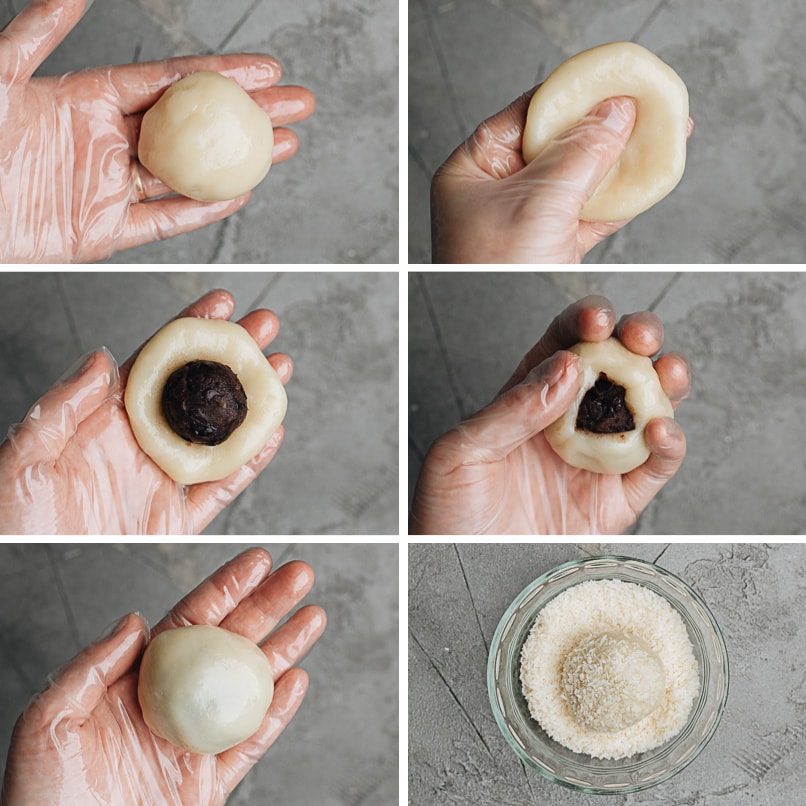
- Roll a piece of dough into a ball
- Press the dough ball into a flat disk
- Add the red bean filling in the center
- Wrap the dough around the filling
- Seal the dough well
- Roll the dough in the shredded coconut for coating
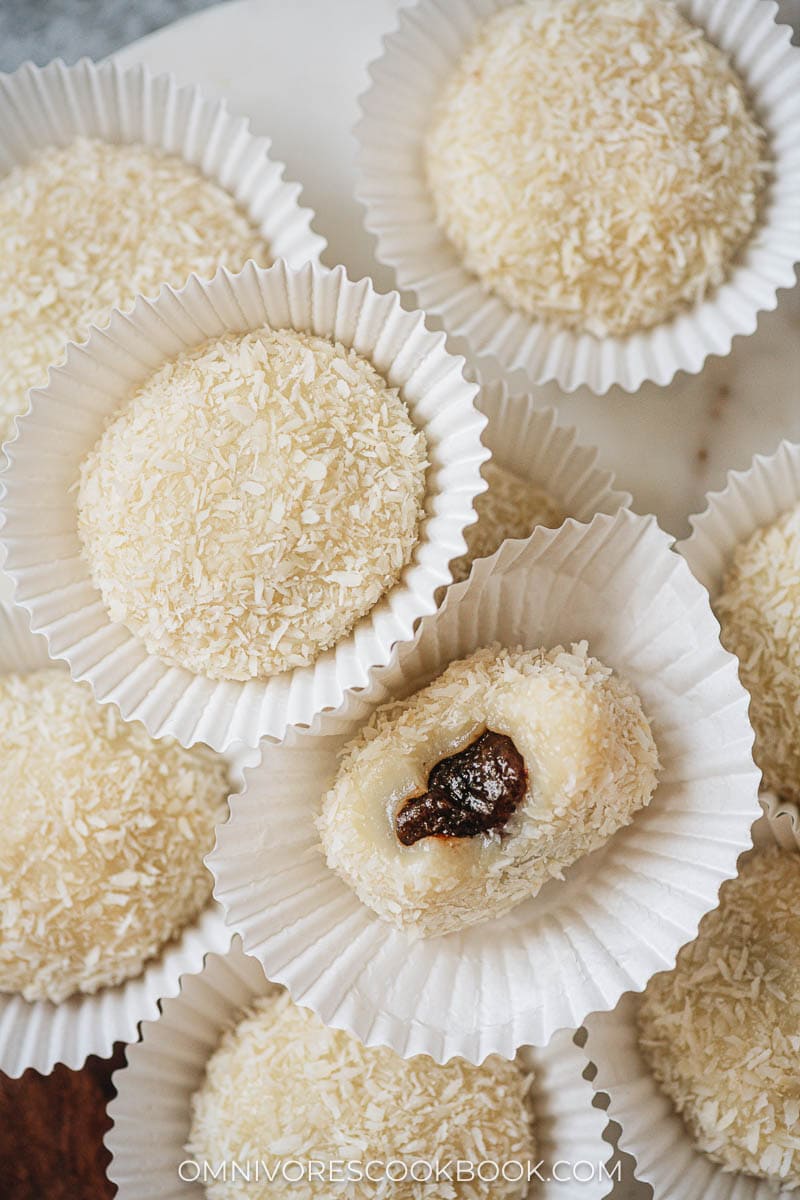
That’s it! Now you can enjoy these sweet, gooey bites at any time of day!
Plastic wrap and gloves
It’s very important to handle the cooked dough wearing a pair of gloves, and to line your working table with plastic wrap. Either vinyl or plastic gloves will work.
The mochi dough is extremely sticky and will stick to any surface that is not plastic. It’s quite hard to clean off, too. I highly recommend wearing a pair of gloves while handling the cooked dough. You will find that the dough is much easier to handle and shape, with no stick at all, when you use both plastic wrap and a pair of gloves.
Store and reheat
The coconut mochi hold up pretty well in the fridge and freezer. You can store them in the fridge for 3 to 4 days, and in the freezer for up to 3 months.
For the frozen mochi, thaw them in the fridge overnight. For refrigerated mochi, heat them up gently in the microwave to bring them to room temperature or slightly warmer, so the texture will be tender again.
I hope you enjoy these coconut mochi and happy cooking!
Other delicious sweets recipes
Coconut Mochi (糯米子, Lo Mai Chi)
Surprise friends and family with a sweet and unique treat by making your own coconut mochi filled with red bean paste. They may look complex, but you’ll see they’re such an easy treat to make that will absolutely impress! {Vegetarian, Gluten-Free}
Ingredients
- 120 g (1 cup + 2 tablespoons) glutinous rice flour
- 3 tablespoons (30 g) cornstarch
- 50 g (1/4 cup) white sugar
- 1 cup coconut milk (or other plant milk)
- 28 g (2 tablespoons) coconut oil (or butter)
- 200 g (3/4 cup) red bean paste
- 1/2 cup coconut shredded
Instructions
-
Combine the glutinous flour, cornstarch, and sugar in a big bowl. Drizzle the coconut milk while stirring to mix until the batter becomes smooth. Run the batter through a sieve and press down on any bits that are not fully dissolved. Repeat two more times until there’s no clumps left.
-
Prepare a steamer by adding 2” (5 cm) water to the steamer pot and bring the water to a boil. Place the bowl of batter onto the steamer rack. Cover and steam over medium-high heat for 25 minutes. (*Footnote 1) Test the dough by inserting a chopstick into the center. The chopstick should come out clean.
-
Meanwhile, prepare the filling by dividing the red bean paste into 10 pieces, about 1 tablespoon (20 g) per piece. Shape the red bean paste with your hands into a ball. Place all the red bean paste balls onto a plate and cover with plastic wrap. Store in the fridge until ready to use.
-
Once the batter is steamed, remove from the steamer. Let the dough cool off for 10 minutes. Add the coconut oil (or butter). Use a spatula to mix in the oil. If you find the oil hard to mix in, let the dough cool off a bit more and work it with your hands when the dough has cooled enough to handle. Gently fold the dough until the oil is fully incorporated. (*Footnote 2)
-
When the dough is cool enough to handle, line your working surface with plastic wrap and wear a pair of plastic (or vinyl) gloves. Transfer the dough onto the working surface. Fold the dough a few more times, then shape it into a ball. Wrap the dough with plastic wrap and let cool in the fridge for 20 minutes, until it has cooled down more.
-
When the dough has cooled (warm dough is OK), put on your gloves again. Divide the dough into 10 even pieces (*Footnote 3), about 45 g per piece. Shape each piece of dough into a round disk with your hands, about 3.5” (9 cm) in diameter. Add the red bean paste ball in the center. Seal the dough by wrapping the disk towards the top center. Pinch well to seal the filling. Roll the wrapped mochi a few times into a round shape, then roll the mochi in the bowl with shredded coconut to coat well. Transfer the mochi to a cupcake liner. Repeat with the rest of the mochi.
-
Enjoy the mochi at room temperature. You can also store them in the fridge for 3 to 4 days, or freeze them for up to 3 months. Once refrigerated, you should heat the mochi gently in the microwave so the texture will soften.
Notes
- I usually place a dry towel between the steamer and the lid to prevent hot water from dripping onto the dough.
- Unlike Japanese style mochi, the Chinese type usually has a softer texture and is not very sticky/chewy. For the soft texture, you should fold the dough as gently as possible and do not over knead it. On the other hand, if you want that super sticky mochi texture, you can beat the dough with a wooden spatula with a bit more strength for a few more minutes to create a chewier texture.
- A silicone dough divider is the best because the dough won’t stick to it. If using a metal dough divider or a knife, you can grease it with oil or butter to prevent it from sticking.
Nutrition
Serving: 1serving, Calories: 193kcal, Carbohydrates: 15.9g, Protein: 10.9g, Fat: 10.1g, Saturated Fat: 8.7g, Sodium: 8mg, Potassium: 77mg, Fiber: 0.9g, Sugar: 6.1g, Calcium: 4mg, Iron: 1mg

